Print Your Books: A Messy Guide
So there I was, a romance author with a bunch of short stories, a stapler and a printer. Inspired by my tiny hoard of Travelers Notebooks, and realizing that 360 rotational staplers existed, and were in fact, pretty cheap, I decided to print my own copies of my short stories.
Do you need to do this? Absolutely NOT. There are plenty of ways for self-published authors to create print copies of their books, I simply chose the most complicated, time consuming route of all (lol) because I had most of the materials on hand at work, and I…like this process? Figuring out how things are made, making them my own. It’s the Virgo/Capricorn in me that likes seeing it all come together even when the process gets really frustrating.
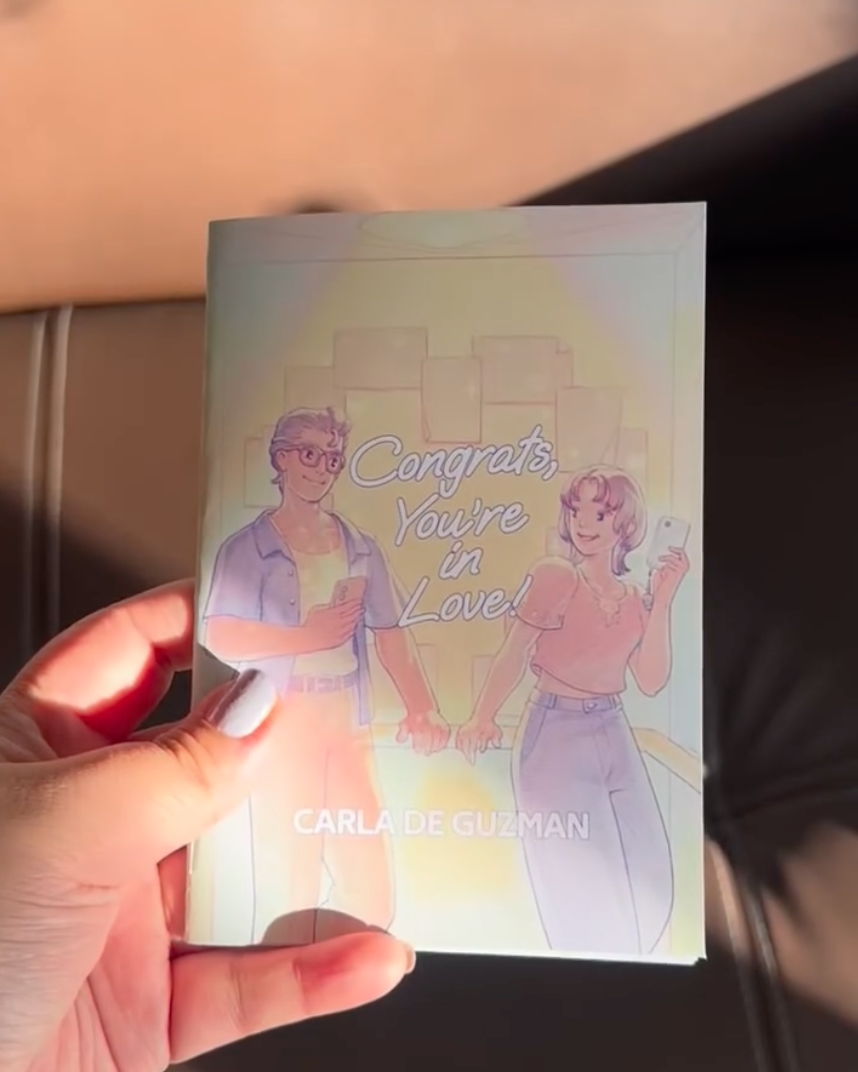
I do this exclusively for my short stories. I think they’re a great way to introduce a new audience to my writing without the pressure of a long book, and once you figure it out, it’s easier to print out copies yourself and stock when you need.
Also I am writing this blog mostly for myself, because I sometimes forget a step or two along the way of this process!
I choose to make my books A6 size because I have A4 paper stocked here, and it seems more logical to me? The Japanese Paper Size conventions are easy for us non-math girlies because it’s just half. So in an A4 sheet of paper I can print 4 pages per side to make A6. The symmetry is just helpful, given you have so many other things to contend with as you go.
A5 is also doable (it skips one step, at least!) but I find the size a little too big and clunky, still!
To get a book that’s about A6 size, you will need:
Your completed manuscript - Ideally in a DOC or DOCX format with the chapters under a heading, but you can manually fix this in Vellum.
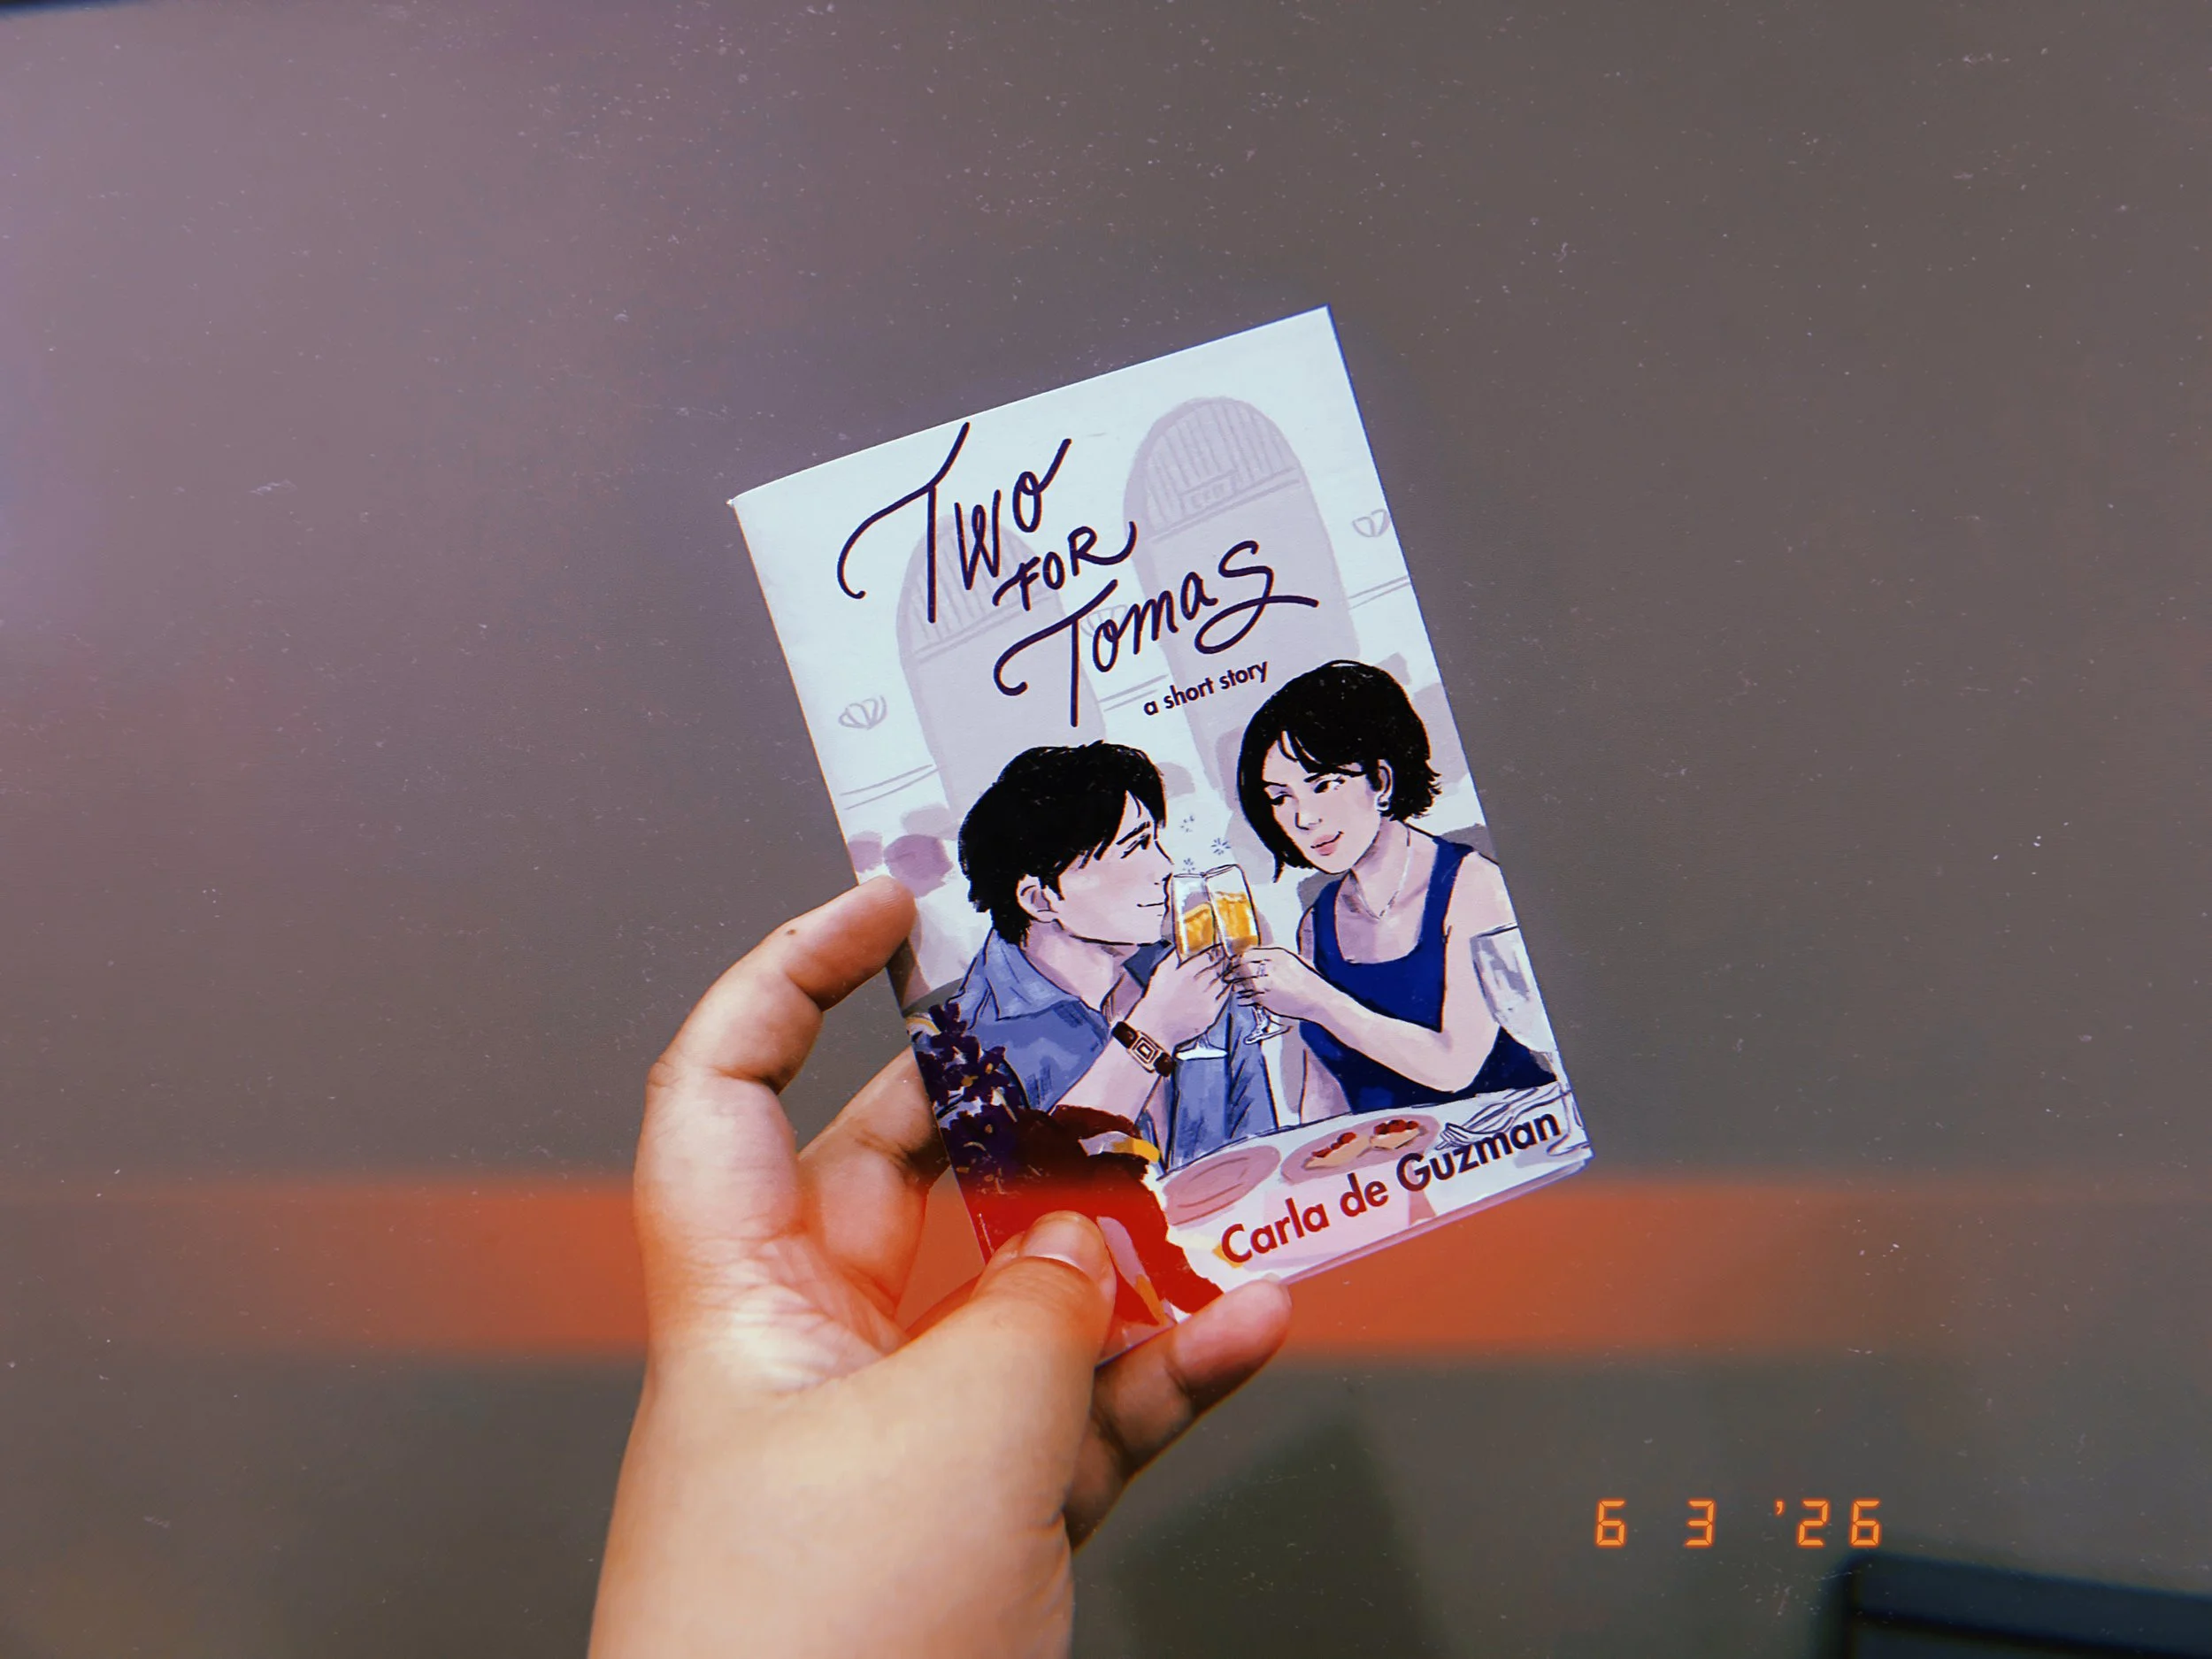
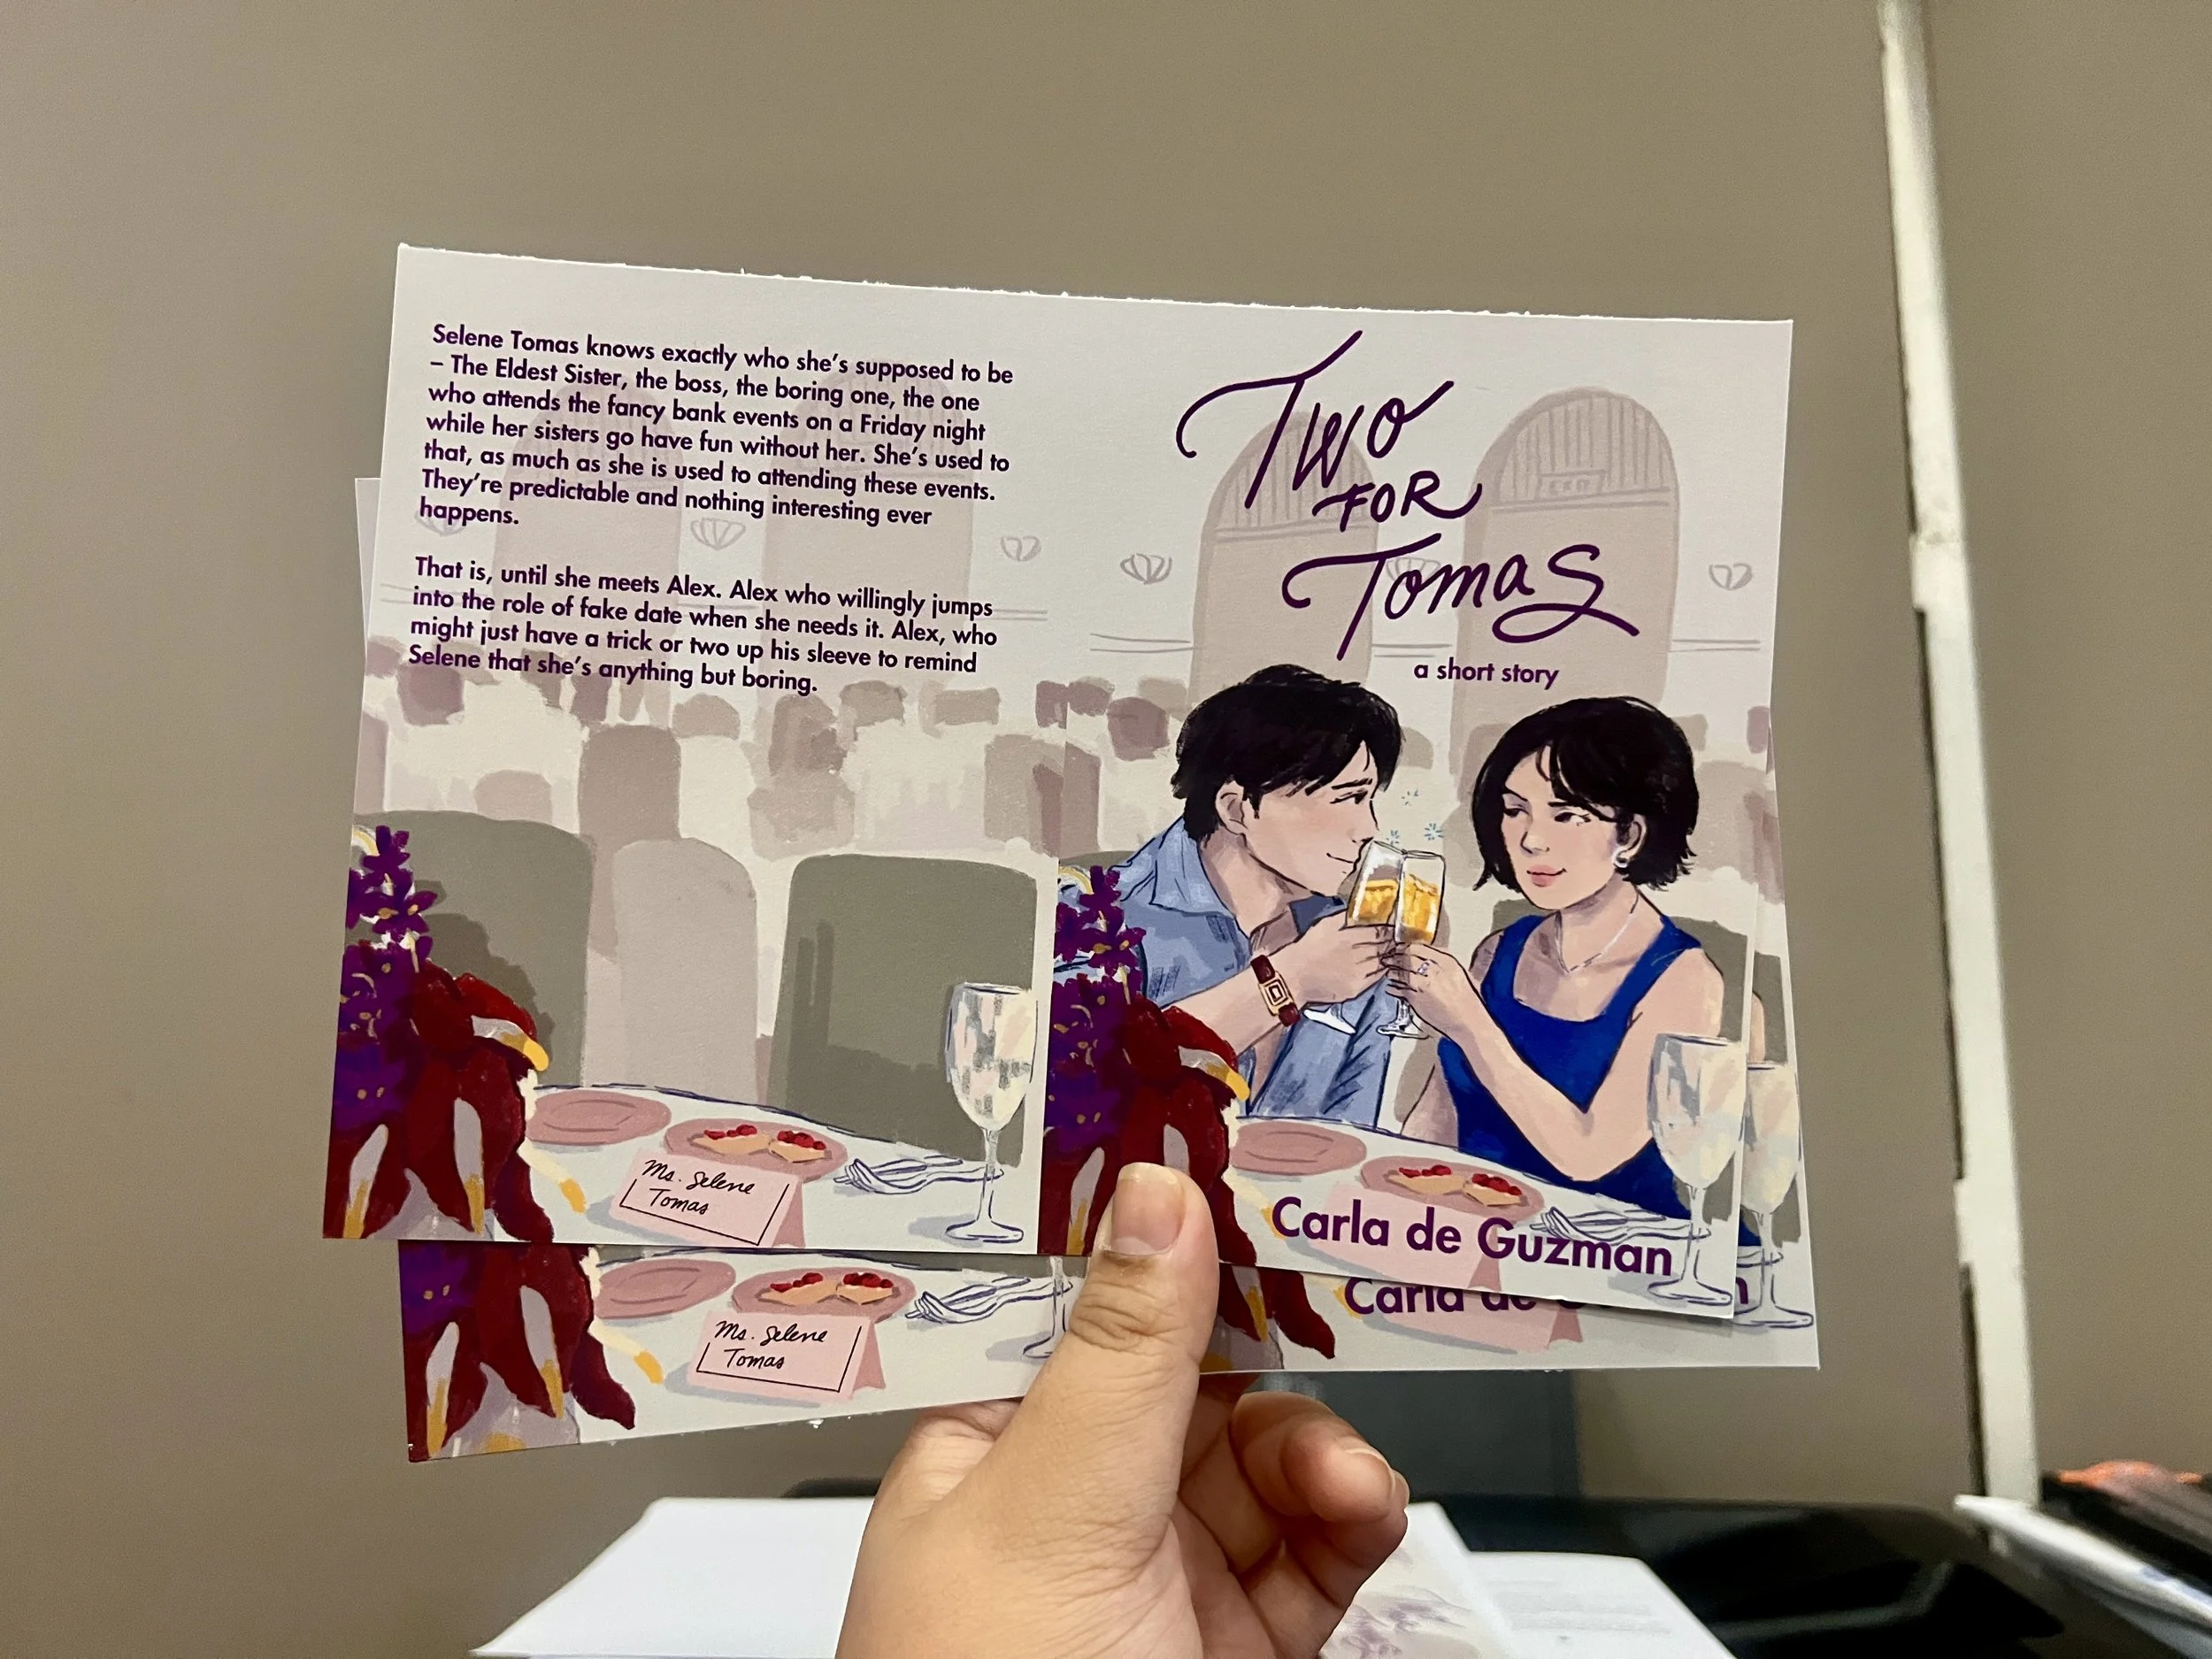
Your book cover - In the size you want! When I commissioned Rye Quizon for this cover I had to explain to him that I was printing in A6, so he adjusted accordingly.
Vellum or similar formatting program - Vellum makes it easy, but Affinity’s Publisher works too. Please don’t use Canva, that’s a different program entirely! Trust me, I tried haha.
A5 sheets - I cut down a bunch of A4 sheets to get this, but you can also get them in reams!
360 Rotation Stapler - to be fair, I found quite a few of these on shopee, and they were not too expensive! You can also opt to stitch your pages together, but that’s a different skill altogether. I use the one from KWTrio.
Optional: thicker cardstock paper for your cover
Format the book
I use Vellum for this! Have loved this program since I got it many books ago. Try to grab it during a Cyber Monday sale if you can, it’s worth it! I like it especially because it so much easier to lay out the story text, add some customization in a way that feels less complicated than when I was using inDesign. Also, you get to generate an ePUB and Print edition in one go, amazing.
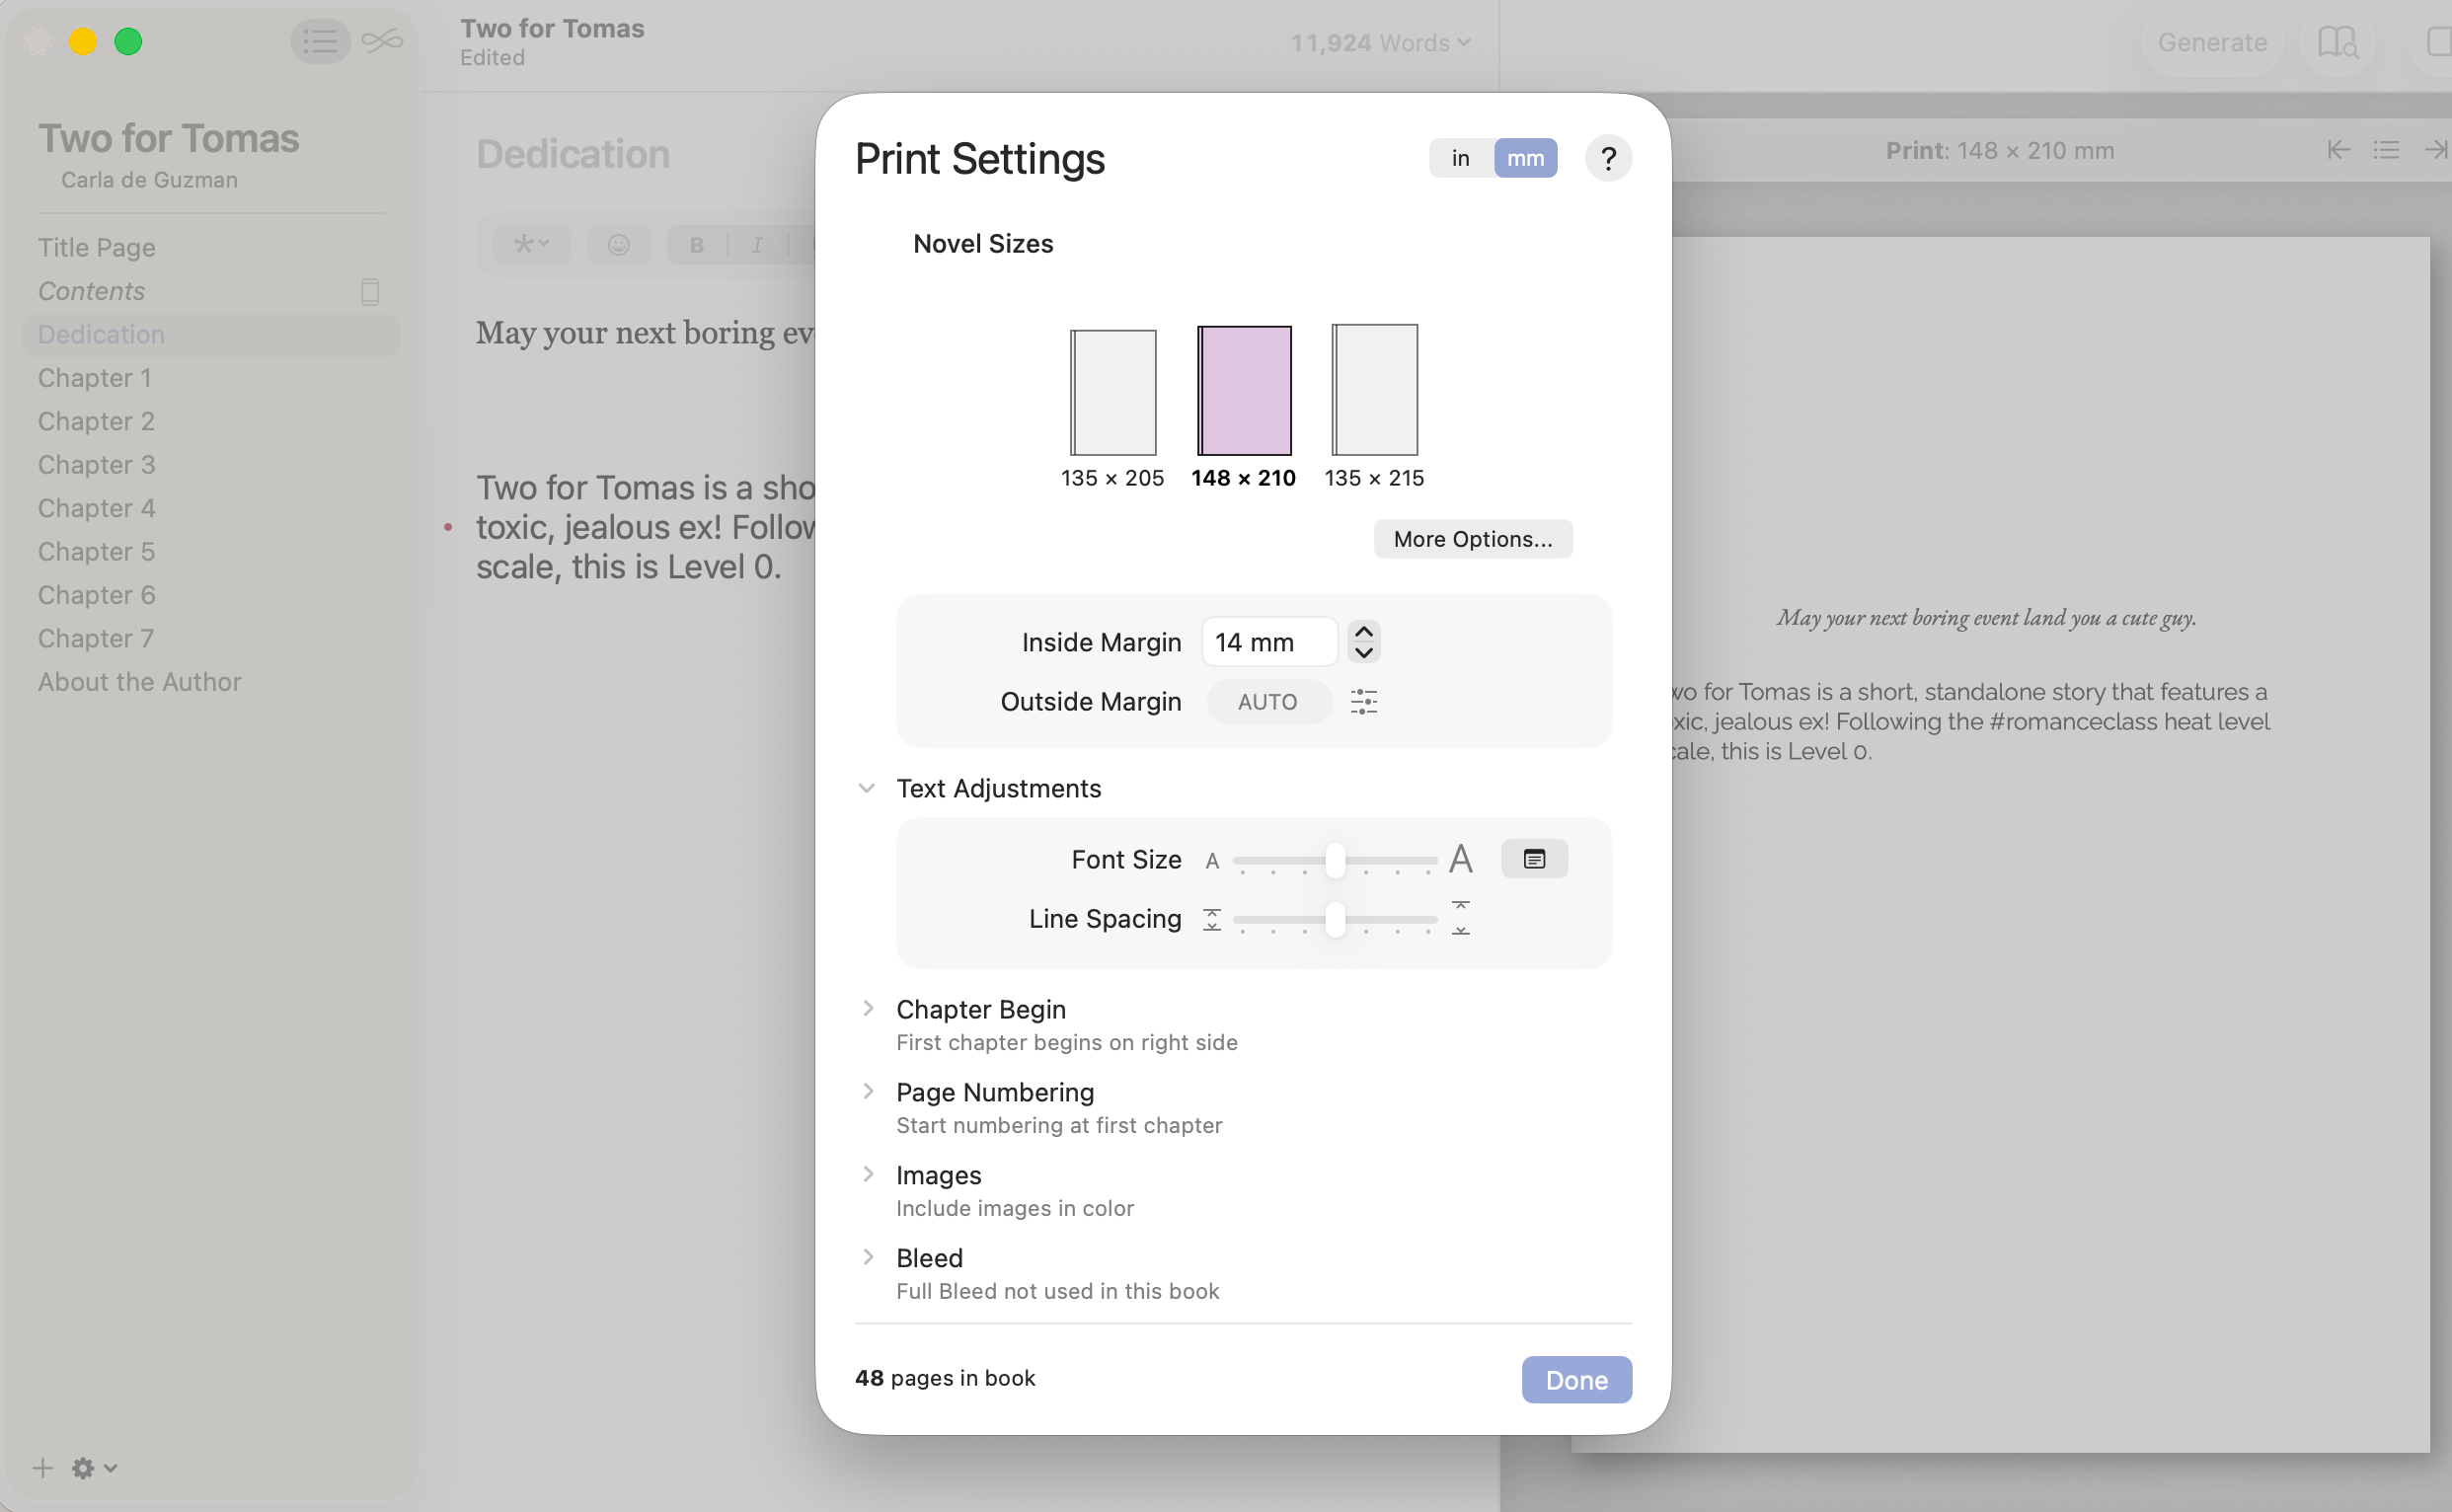
IMPORTANT: Under Generate for > Generic & Print > click the Books icon > Print > Print Settings’ choose 148 × 210. You can play around with font sizes and margins, but I chose 14mms for the inside margin. I would do a larger font size but that means more pages!
Set up the booklet pages
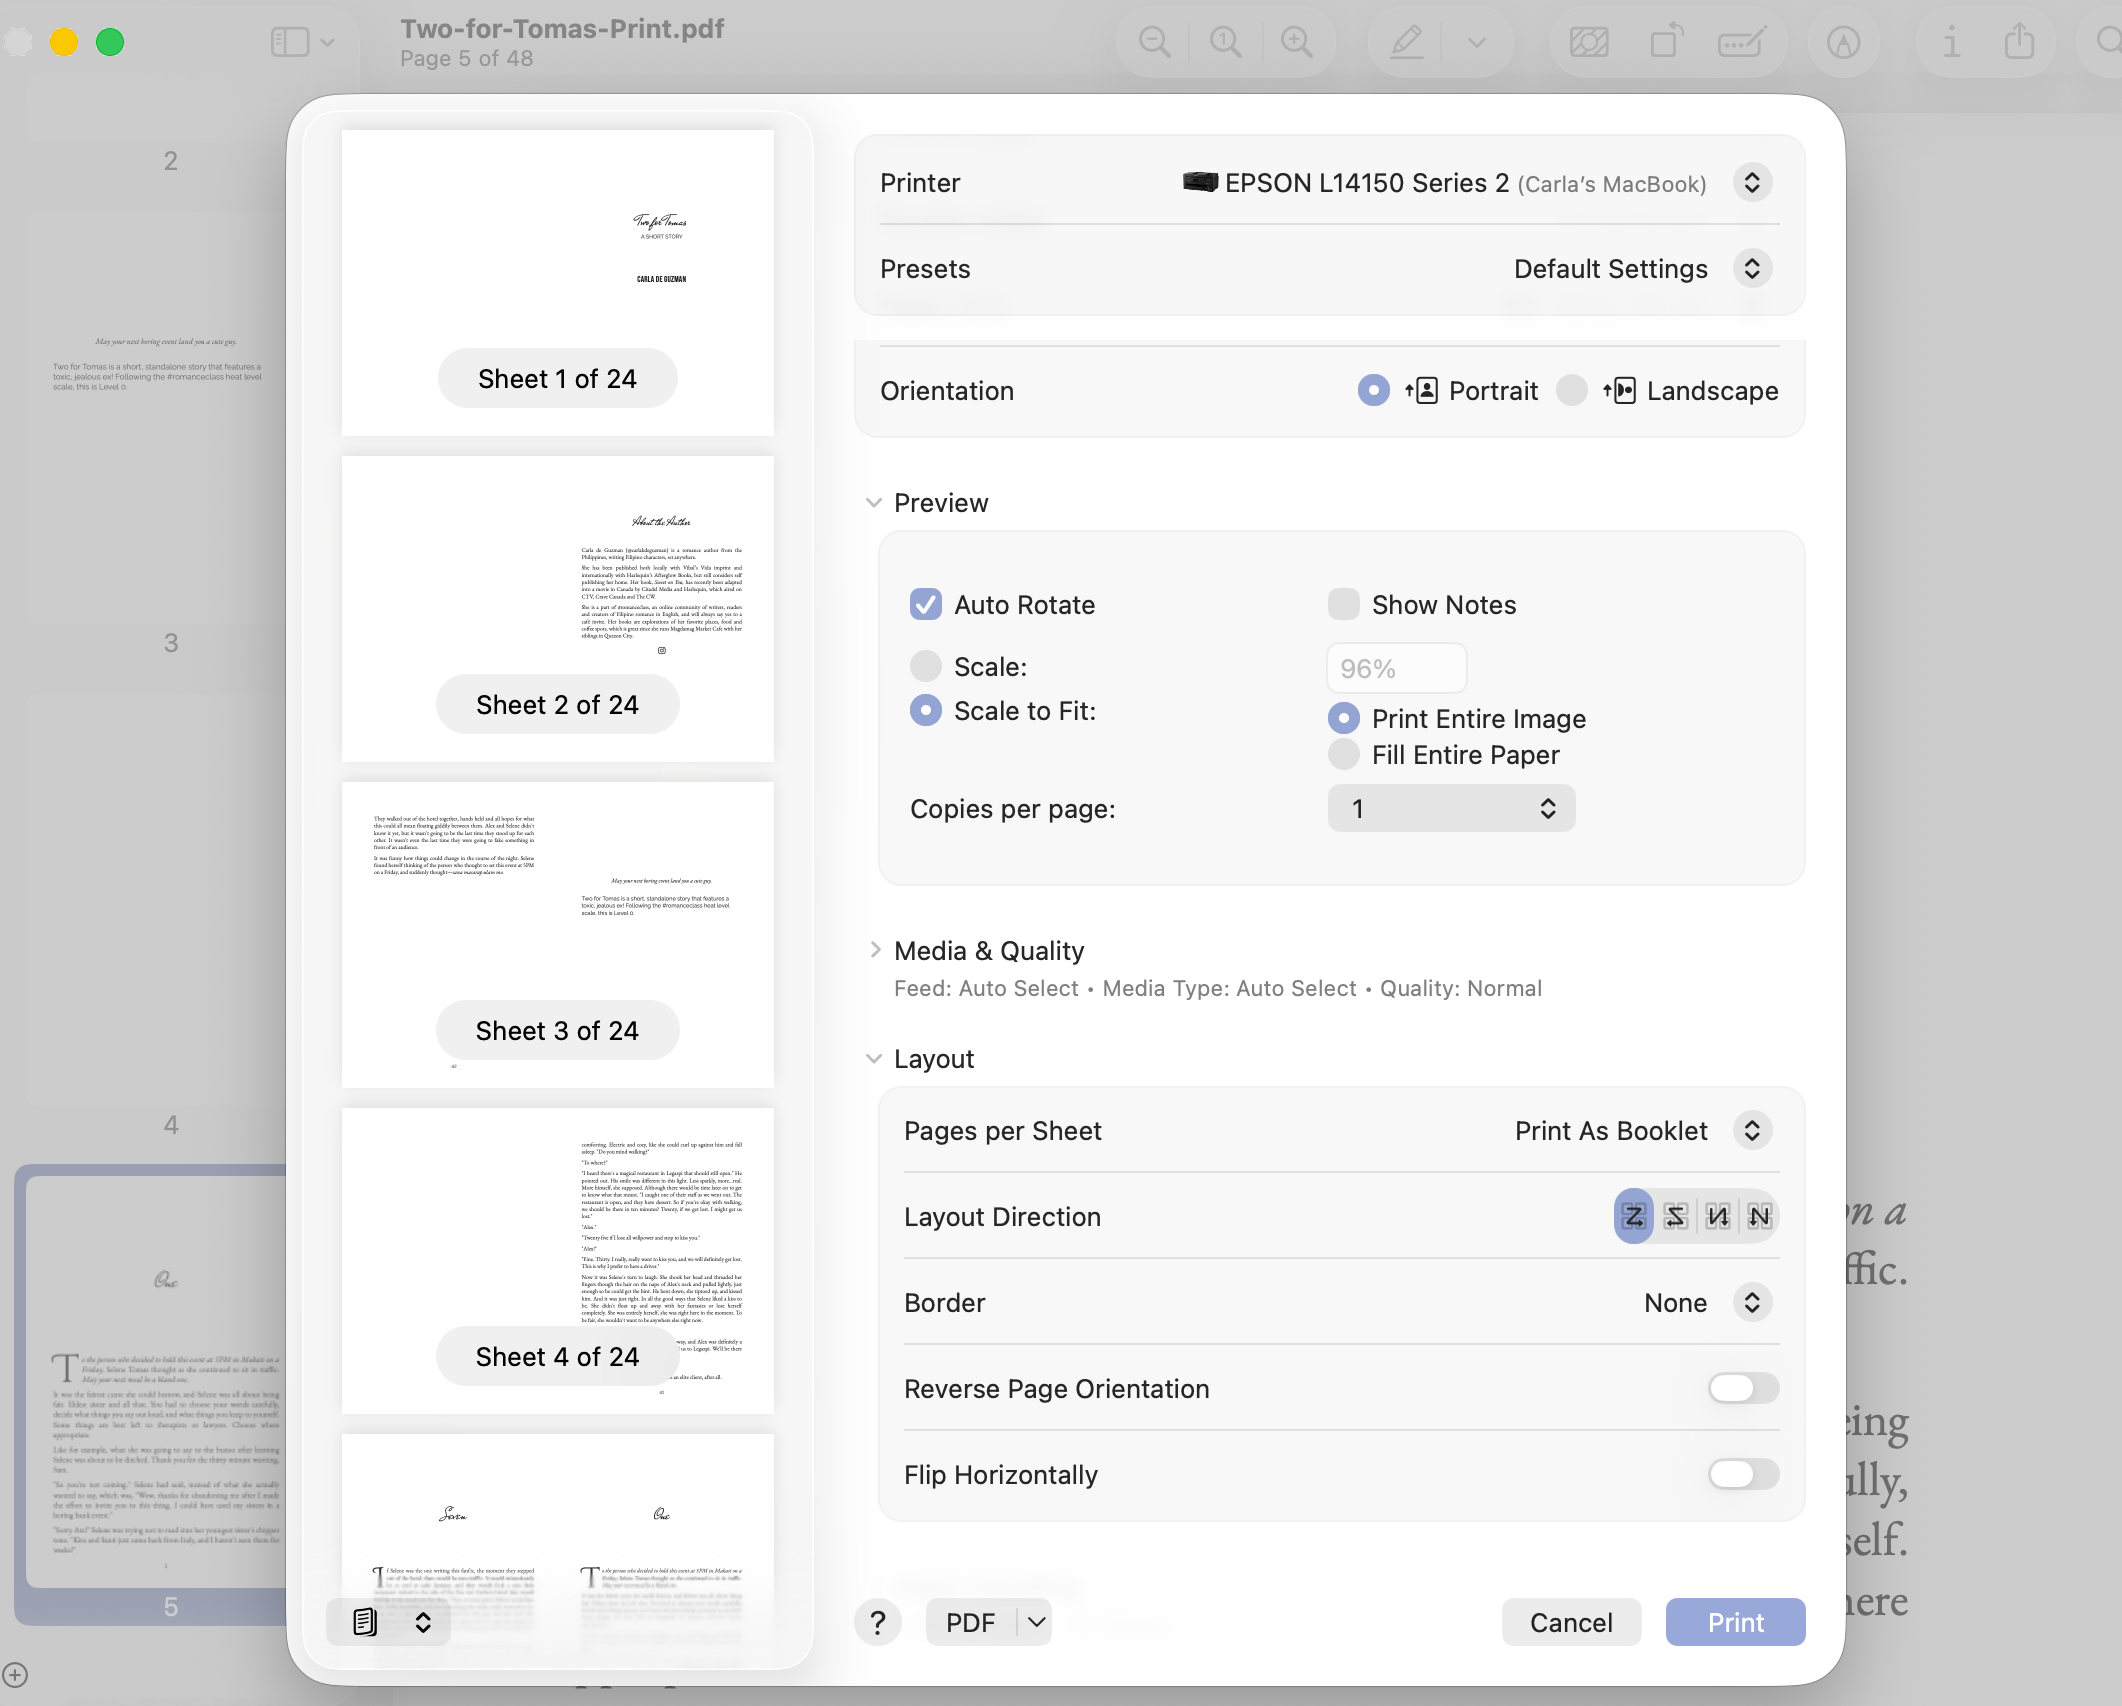
Open your print PDF using Preview. Go to File > Print and change the following settings:
Paper Size: A5
Pages per sheet: Print as Booklet (IMPORTANT!)
Then go to the bottom of the screen (next to the ? button) and go to PDF > Open in Preview
Printing Your Booklet
Preview should generate a landscape document with two pages on it. If you check the page numbers of your PDF, you will notice that they will now be in an alternate ascending/descending order. This is because your computer automatically generated the correct order of the pages you need to print for your book! I used to do this manually (as in I had a little mockup of page numbers and laid them out manually on Pages lol) so discovering this was kind of a game changer for me.
Don’t forget to save this PDF file, because this is the file you want to work with when you reprint your book later on.
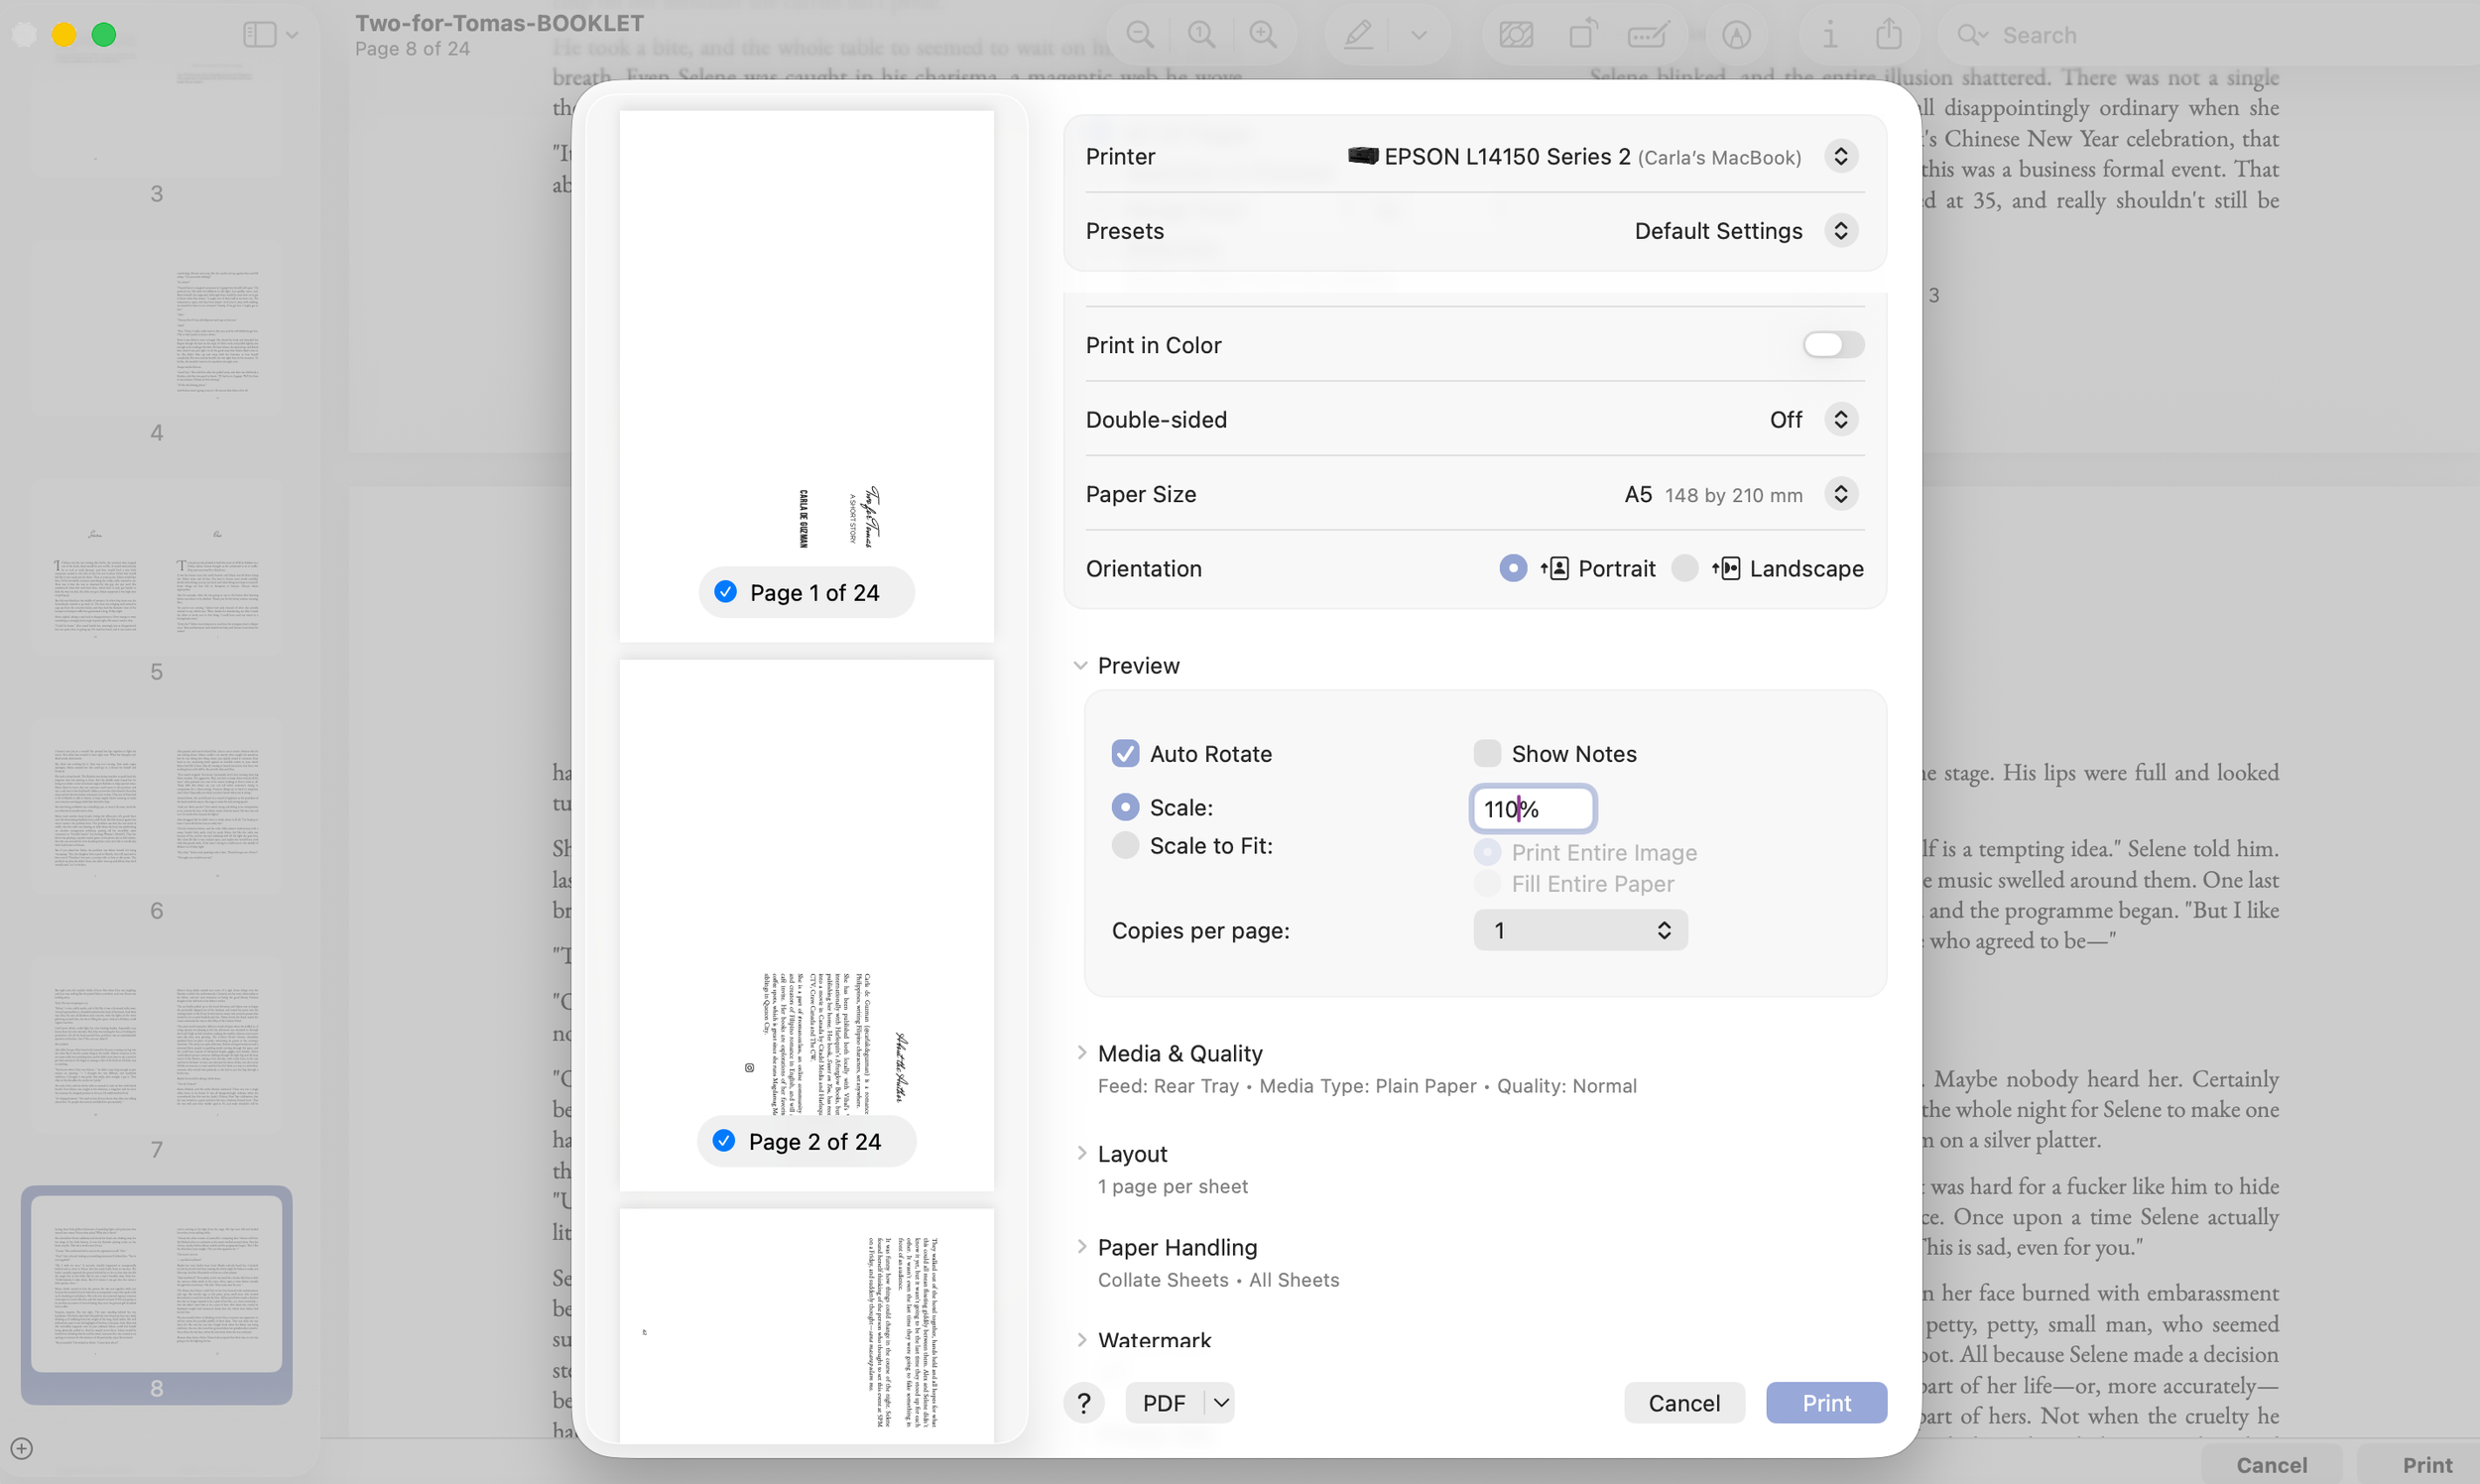
When the Print Settings pop up, set up the following:
Page size: A5
Scale: 110% I realize I should adjust my Vellum file, but I prefer to scale it up here instead!
Pages: Odd pages first, then even.
My printer can do back to back pages, but just for quality control, I print odd numbers first, take the whole stack, replace it in the printer backside up, and then print the even pages.
How you stack your pages depends on how your printer works! Try to observe what order the pages print in, and in what direction. You can mark your pages with a pencil if you need, if you’re just testing it out. It can get frustrating, but once you figure out, it’s easy!
Arrange your book
Because I’m using a thicker paper for this, I print the cover separately, and on A4 sheets, cutting them crosswise later to fit my booklets. This is not the most accurate, as I probably need something bigger to cover the thickness of the paper but again, we are working with what we have here, people!
If it helps, this is 220gsm matte “calling card” paper. You can choose to laminate this if you want, but I decided not to.
Fold all your sheets down the middle and stack them in the correct order. Professionals will tell you that you need a bone (bone????) folder, but I make do with just my hand.
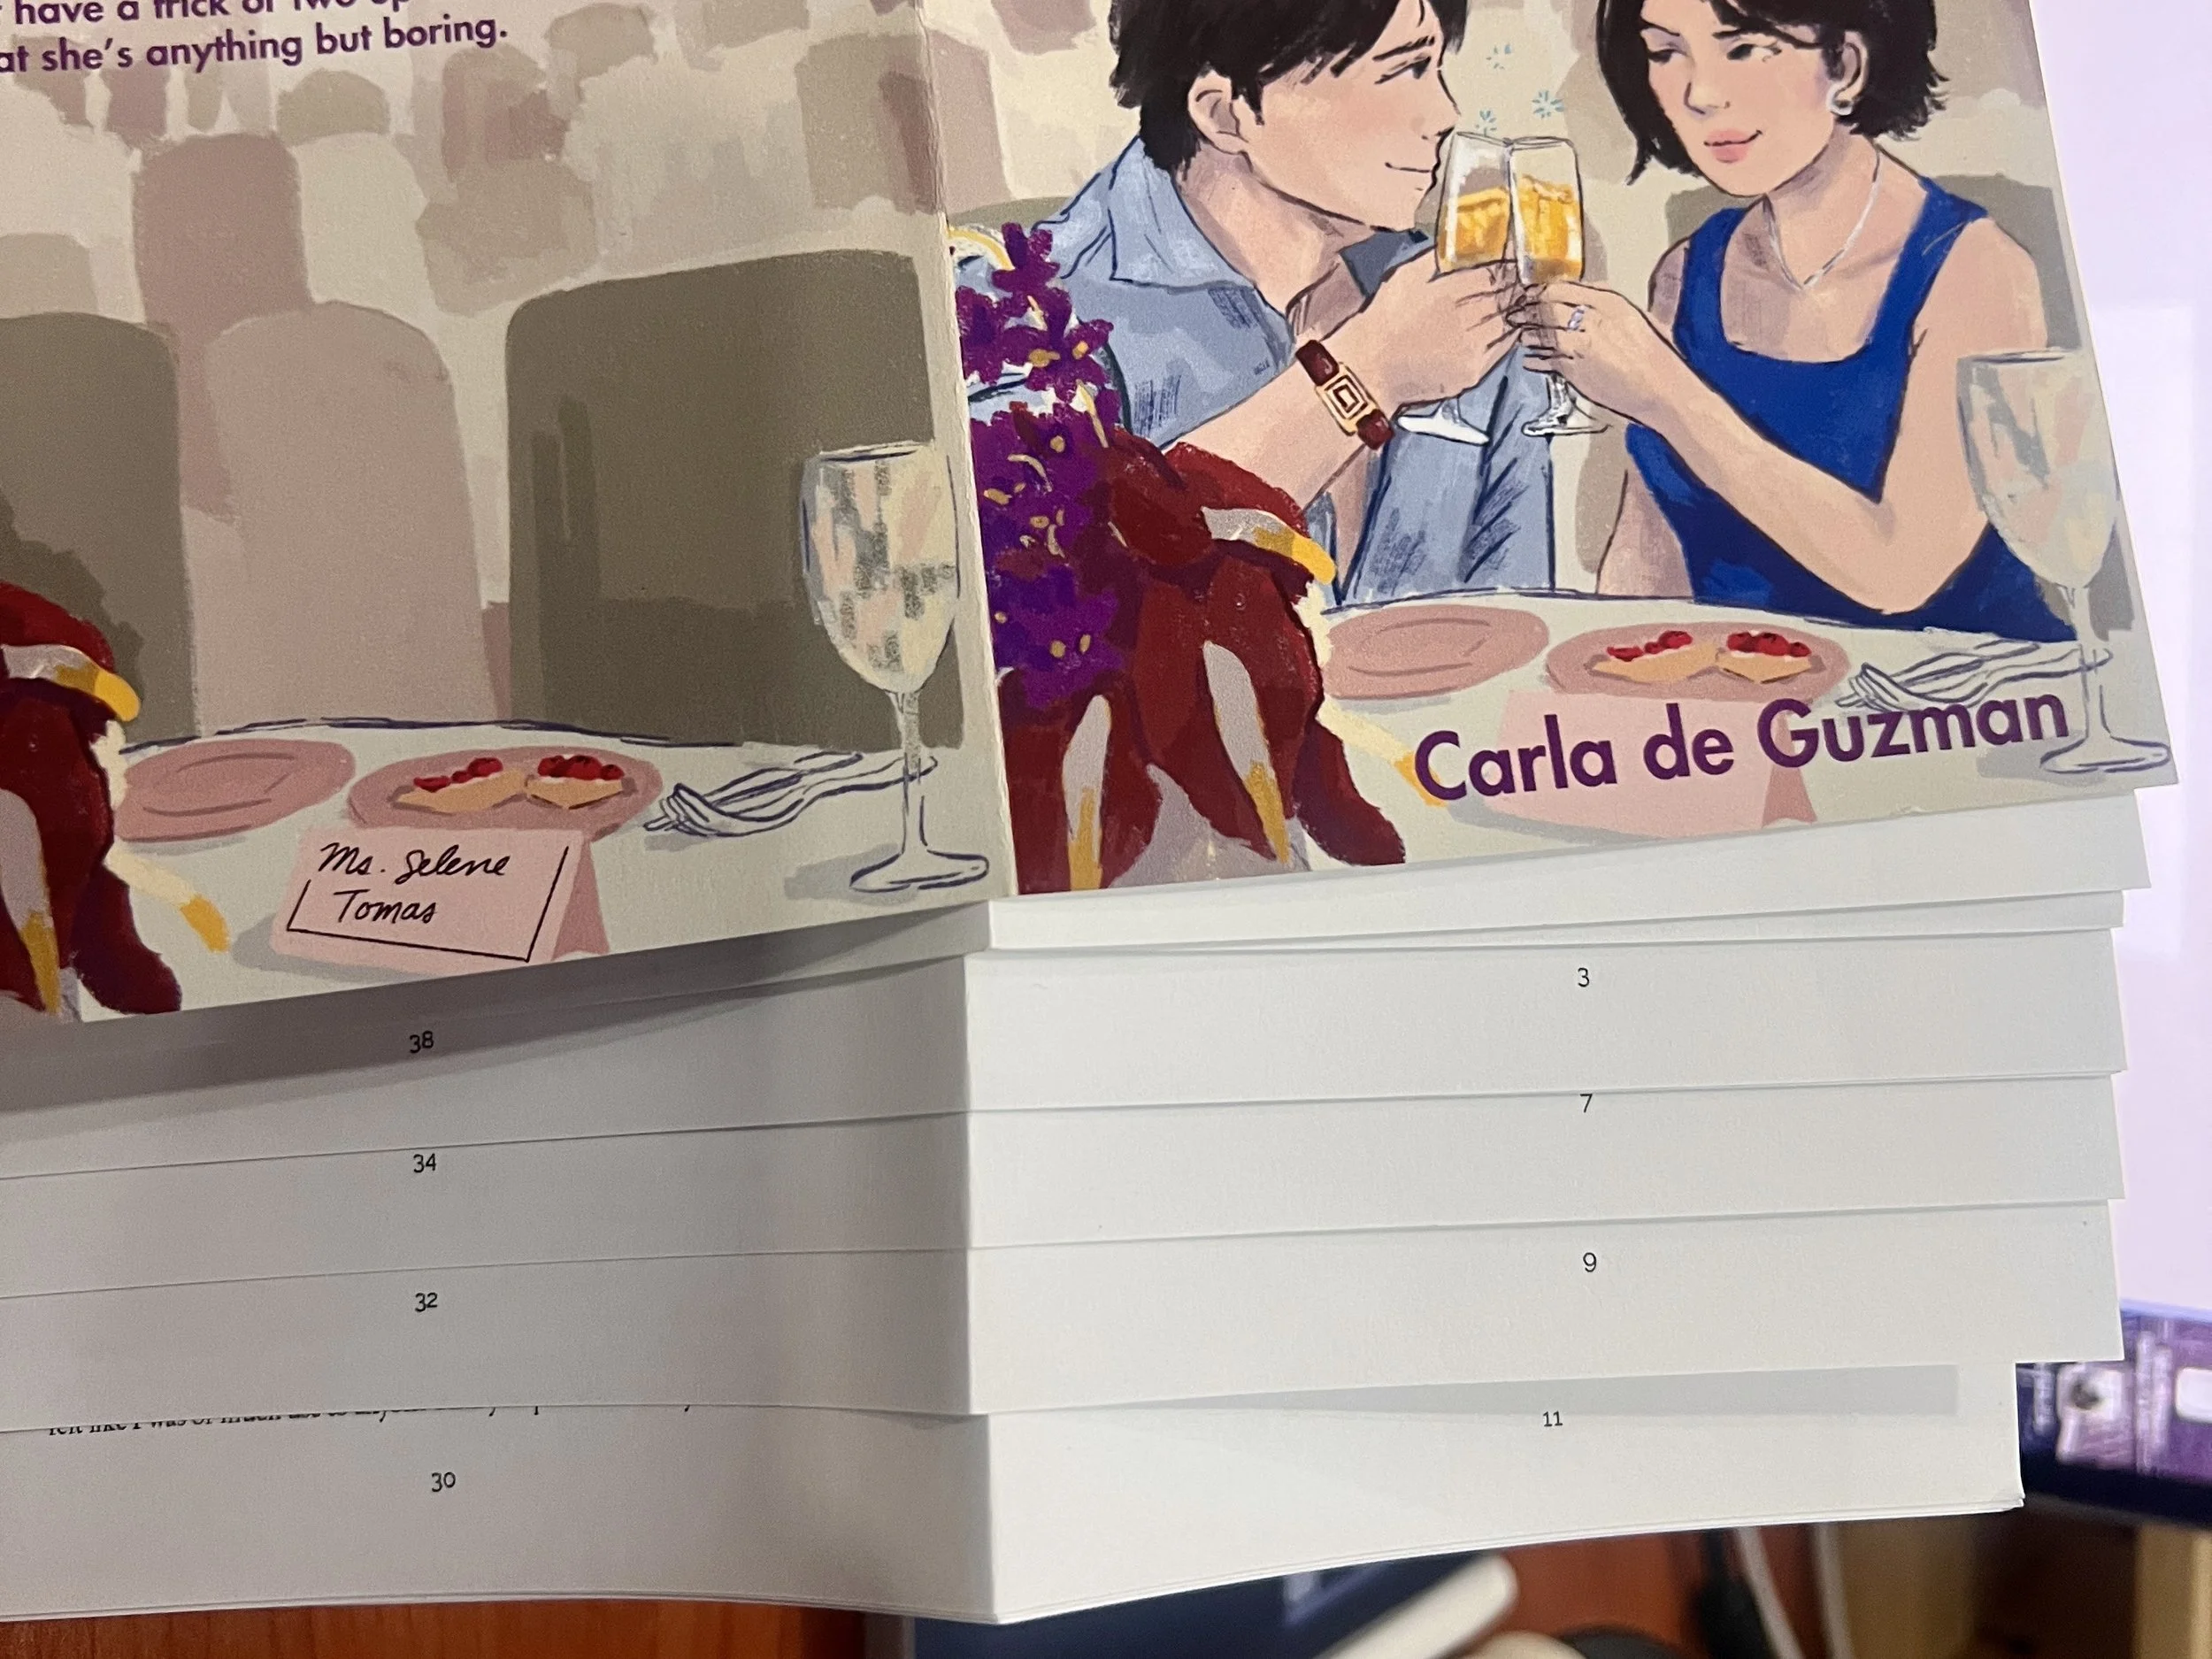
Then I use the rotary stapler to staple the pages together. You want at least two staples, one near the top, one near the bottom to secure your book.
Optional Kaartehan
If you have access to a ream cutter, you can trim a bit off of all sides of your book to keep the edges neat. This is not a necessary step by any means, but again, the option was available, so I take it!
And just like that (wow) you have your finished book! Package and sell, or give away to readers, it’s up to you! I hope this guide helped even a little bit.